Category Archives: Photography

iPhone Macro Love

So recently I had to upgrade my iPhone.

My phone was pretty old school (a 3Gs) and I didn’t think it would be that drastic of a change to upgrade it but oh my goodness….each day I discover something new about how the camera works. I’m falling even more head over heels with it all the time.

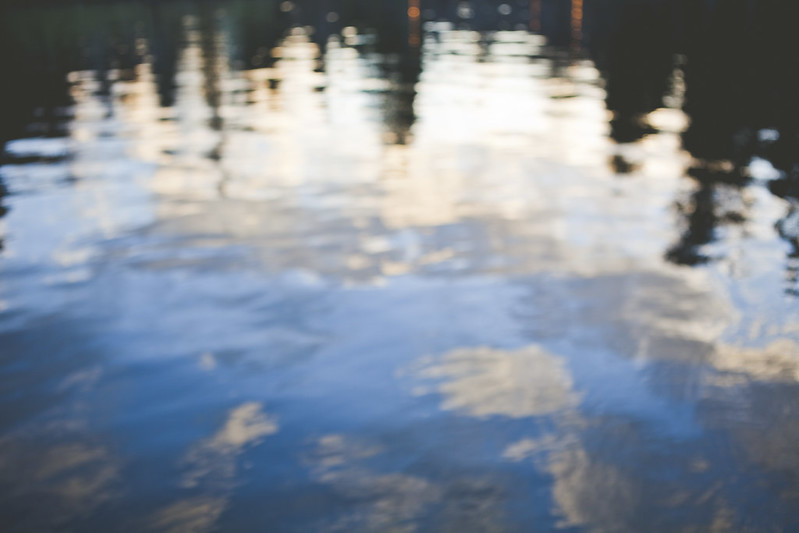
Last week was the typical grey and rainy winter weather here in Vancouver.  One of my favourite ways to brighten my spirits on these rainy days is to take photos of water droplets and focus in on the little bits of beauty of the rain.

This was the first time I’d tried this with this new phone was surprised to realize how this new phone has some pretty wicked Macro capabilities…I was totally in awe.  I feel like it is actually pretty close to the kind of macro shot you’d get with a DSLR and a Macro lens…which is kind of mind blowing.  In these shots I’m not using anything extra like those lenses you put on your iPhone (though those look cool) or any sort of app.  This is just using the basic camera on the iPhone5.

Here are a few things I’ve discovered while experimenting with shooting macro with this phone:

Crop In

This was one of my favourite tricks with shooting macro with a macro lens…that often after we take the photo we might notice that there is a part of the photo that we didn’t even see in taking it that has some amazing qualities to it (like an unexpected awesome water droplet).  Some of these photos aren’t their original size but are actually cropped in to focus on one part of the image!  Macro invites us to look at the little things and I find once we take the photo we can look even closer!

Autofocus Lock

This biggest change that I think allows us to capture rockin’ macros with this phone is the Autofocus feature.  It allows you to lock the focus on that one spot so you can move your camera around without it trying to refocus again and again…which ROCKS (and more about this in another post this week as the autofocus lock rocks for even more reasons).

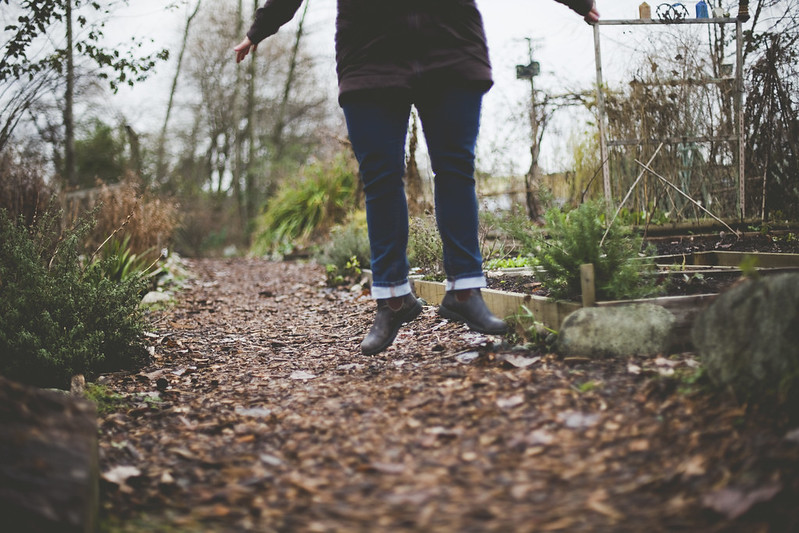
Shoot without Looking 

This is one of my favourite tips I share in the Tips and Tricks for taking Dreamy Photos E-Book.  Its a trick I use for getting my creative juices flowing (and getting out of my left brain)…to take the camera away from your eyes and take photos without composing them.  So often this makes for beautiful unexpected photos.  I especially love doing this with shooting macro…to just get your camera as close as you can and just experiment and with the iPhone it does help to do a shot close up and set the Autofocus Lock and then just have fun with it!

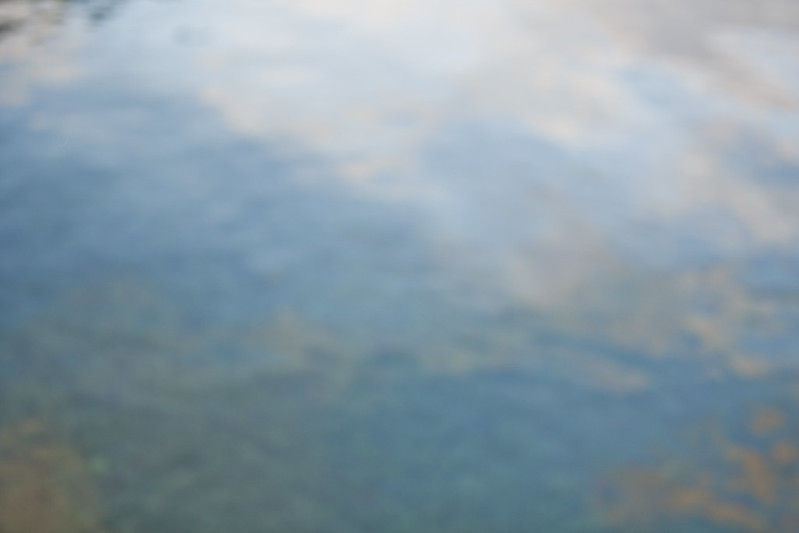
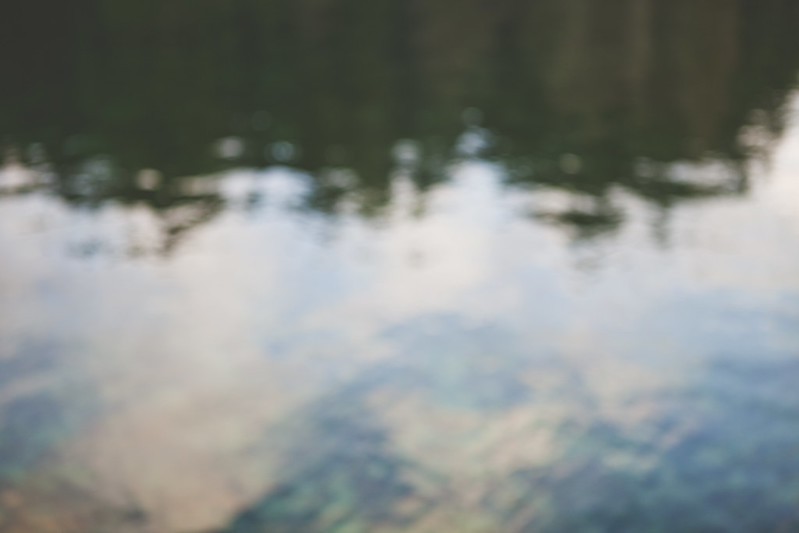
Here are a few more macro shots from the iPhone this week:

Beauty in the Blur

blurry beauty

I’m getting more obsessed than ever with shooting unfocused.

Click the camera over to manual focus and see what happens.

Seeing how the story shifts when I let go of having one thing in focus.

It makes me think of the way the world looks without my glasses

Or like an oil painting, seeing brush strokes in the way that

the blur curls sharp edges to soft.

dreamy cloudsforest blurreflectionforest reflection


These were all taken on last weeks forest hike and on the pier in the town of Deep Cove.  Have you experimented with shooting unfocused? I’d love to see the blurry magic in your world too!   If you haven’t experimented with this before, it is beyond fun…and you can find tips for this and other ways of adding some magic to your photos in the Tips & Tricks for taking Dreamy Photos Ebook!


How to take Amazing Jumping Photos {in 9 Playful Steps}

Learning to FlyStep One: Find a spot to prop your camera! Then decide if you are going to shoot your feet or your whole body and compose your shot.    Use your tripod if you have one.  If you shoot your whole body, remember that you can always crop it later so don’t delete photos where you’re making a silly face (cause its kind of natural to do when you’re jumping)!

Step Two:  When you’re ready to get started, press the timer on your camera or your remote.  You definitely don’t need a remote to do a jumping shot, but it does make it easier! If you are using an iPhone to get a jumping shot, try GorillaCam or Camera+ which both have self-timers!

Step Three: If you don’t have a remote you may need to tell your camera where to focus.  Try setting the focus on something nearby where you plan to stand!

Step Four: Experiment and get playful!  Be silly!  Try different ways of jumping.  Jump off of something.  Jump forward.  Jump sideways.  Jump on one foot!  Jump lots of times in hope one of them will be captured in air.  You don’t even need to get a lot of air, just a small jump can look big.  Just go for it!

Step Five:  As you are jumping, you’ll discover that one of the biggest things that helps is to get to know the timing of your timer.  If you’re using the timer on your camera, get to know when the shutter actually clicks in relation to the countdown (for me it is a few seconds after the last red light goes off).  It may not be exactly when you expect it to be, so its great to just slow down and notice when that shutter clicks and try to aim to jump at that time!

Step Six:  Don’t get discouraged if you don’t get the perfect jumping shot right away!  Be prepared to take lots and lots of outtakes until you get one that you love.

Step Seven:  Be ready to change things up!  Change the setting or where you are aiming the photo.  Sometimes a change in scene or perspective makes all the difference!

Step Eight: Keep playing until you get your amazing jumping shot! You’ll get it.  The more you experiment with jumping, the easier it will be to get that shot where you are in the air (and know what style of jump works for you) but don’t get discouraged if you don’t!  Even if you’ve taken lots of jumping shots, it still takes us all many tries to get the one that works!

Step Nine: Don’t delete your outtakes before you upload them to your computer!  You might see something different once you see them on a bigger screen!  Remember that you can crop out a part if you’d like!  Sometimes I might crop a photo down to just the feet or legs if I am making a funny face or  feel vulnerable about the top of it.  Often we get so focused on our feet in these photos that we might not think about our hands or face (thats always the case for me).  Don’t get hard on yourself if there are some you don’t like, just seek out the one that you do and let it be the one that tells the story of this photo adventure!  Share your photo!

Let’s get jumping!  If you have a jumping shot or take a few minutes to try one today, please share a link to it in the comments section or use the hashtag #beyourownbeloved on social media.  I would SO love to see your jumping shots and cheer you on!

If you are craving a playful yet powerful self-portrait journey…come join me for the upcoming session of Be Your Own Beloved!

A Year of Self-Portraits

twirling

A big part of why I take self-portraits (and encourage others to) is because they help us create a visual narrative of our lives, to tell the story of our adventures and to be able to document them.  In each of the moments that I take them, my hope is just to document that moment but together they create a map of the year took us (but with us in the photos, not just behind the camera).

So in thinking about this past year, I started looking at the photos I took each month and pulled out a few selfies from each month and have gathered them up here to reflect on.  Its hard to pick a favourite as they are all little pieces of the puzzle of 2012.  Thats the thing about taking self-portraits.  To me they aren’t about vanity…or which one did I look best in.  They are all just little moments of creating space and witnessing ourselves.  I think what becomes a favourite for me is one where I learned something new.  Like the red boot photo where I almost deleted it. Or the February Shadow photo because its so playful and its always so good to get friends in on the silliness.  As well, all of the August Whistler photos mean a whole lot for me as that was the first time I brought You are Your Own Muse into a live in-person workshop and it was a beautiful weekend for me.

Did you have a favourite self-portrait you took this year?  One that meant the most?

So here’s my year in review, one year in the story of this adventure called life.

January

February

March

April

friday strollfound

May

June

July

August

September

October

November

December

P.S. Did you see there is a brand new self-portrait E-Course called Be Your Own Beloved running this February?  More on the new E-Course here!