Seeing Ourselves in a Kinder Light

kinderlight600

Every minute, every hour.

It changes.

I follow it throughout the weeks, months: when it rises, when it sets, when that time when the light falls in rays on the ground is.

I can notice what it’s patterns are, where it is in the sky, how it leaves a story in shadows on the ground.

But I can’t control it. Never.

What I can do is build a relationship to it. Meet up with it for a walk around the block.

It is an invitation to live in the moment. Because I know at any moment a cloud could take over the sky and it will be different.

So I step into it. Notice where it is coming from and how it might flow into the camera. And I aim the camera at myself.

What I found when I first started doing this was that for a long time I had been blaming a ‘bad photo’ on my body, on my physicality. But the more I learned to work with light, build a bond with it, the more I saw the light in myself too.

The more I knew how the light could help me shine.

And so I let the sun shine down on me.

Shine into the photo when the day called for it.

Other days tell the story in silhouette.

And, as the light softened near the days end, the light helped soften the harsh words I had for myself.

Something I never thought would happen. The light softened me and invited me to choose a new perspective, to see myself in a kinder light.

So I let it be my guide, my companion, my ally.

I let it guide me home.

*

I wanted to share with you how light has felt like a guide for me on my path to seeing myself with kindness. How it can be a tool for us on our paths to seeing ourselves with kindness. In the Be Your Own Beloved class, light is one tool we use but in Be Your Own Light we dig deeper into it and explore 20 different ways that light can guide us to seeing ourselves in a kinder light. Plus, we really learn how to work with light something that absolutely transforms our photography, especially our selfies!

Come join me for Be Your Own Light! Class starts Monday July 13th and the class is only $39!
byolightblog600

Be Your Own Light this Summer!

byolightwsite600

So many of us hide our light.

Hide from the camera.

Sure, we may shine in other ways, every single day.

But as soon as the camera comes near, we throw a blanket over our light…of old stories, of beliefs of what the photo is going to look like even before we take it. We don’t give our chance to see ourselves in a new light, from a new perspective.

That’s why I’ve decided to bring back the Be Your Own Light for a community session this summer.

Because I want to see you shine and not be afraid to stand in the light…in your life AND in front of the camera.

Standing in our light doesn’t mean we’re being vain.

It doesn’t mean we want to outshine anyone.

It’s not about that at all.

It’s a claiming of worthiness, a claiming of our right to be in that photo.

The Be Your Own Light, much like the Be Your Own Beloved class, is all about helping YOU let yourself shine. But the Be Your Own Light class is super fun because we also learn about light…literally!

Often I find that when folks might take a photo of themselves and not be able to see it with kindness…often it is that we might not be ‘lit’ well in the photo, that the natural light around us isn’t helping us shine.

So in this class, we learn about light and how to take photos that help us shine in a literal way as we build a relationship to light…but we’re also inviting ourselves into the frame each day with the light and stepping away from hiding into the shadows and letting ourselves stand in the light!

I also wanted to keep it at a summery, gentle price too so you can join in for this class for $39 for these 20 days of light & self-discovery.

Let yourself shine this summer!

How to Use your Phone as a Remote

phoneasremote600

Recently my friend Sylvia shared about this app with me EOS Remote App for Canon Cameras like mine.

OMG….life changed in that moment. What it does is that it allows you to use your phone as a remote to take your DSLR photos as you can see above. Not only that but it allows you to see the live view as you’re capturing the photo. Plus, you can also access the photos you took (and any other photos on your memory card) and save them to your phone.

I know, game changer.

I thought I’d share a bit about how I’ve been using it. At first I was all about using it as a remote to initiate the photo, but after getting quite a few photos like this:

eosappimage1

I realized that I needed to go back to what I know and use the 10 second timer on the camera. You can still use the app to start the timer, but then it gave me enough time to either get to the spot I wanted to take the photo or tuck the camera away in my pocket.

I also started to use it only as a way to see where I’m standing and frame the photo so I’d lean it up against the camera facing me, essentially having it show me what would be on the back of the camera if it’s on live view and I had recently bought a new remote (and have yet to loose this one) and I’ll use the remote to initiate the 2 or 10 second timer and use the phone and app to see where I was in focus, and how I wanted to frame the photo. Fun, right?

The part about being able to save it to your camera…epic. In the past I’ve been pretty stuck on sharing only iPhone photos on Instagram, partly because that’s the way the culture of Instagram started out being our phone photos. But also because I want to not only share fancy DSLR photos with you but more accessible iPhone ones too (as I really believe you don’t need a fancy camera to take selfies that you can see with kindness and love…it’s not about the gear). But being able to skip the step of having to upload the photos to my computer and then send them to my phone and instead save them directly there was seriously exciting.

That’s what I love so much about photography. There is always something new to discover be it a subject through the lens or the technical option we have to take them. I feel like this app has had me falling in love with my DSLR again!

Here are a few shots that I’ve taken recently using the app!

eosappexamples

So yes, you might see more DSLR photos on my Instagram these days, though it will be a mix cause I love my iPhone too and it’s simply easier to take out on an every day basis.

For those of you who have a DSLR you might be wondering if you can use this app too. The biggest factor to whether the answer is Yes or No is whether your DSLR has a Wifi Option. To be honest I knew mine did but had never used it. That’s what this app needs to work. Essentially it makes your camera a wifi hotspot for your phone to communicate with and be able to save photos from it. Without a wifi option it won’t work. To see if it has wifi you could see if there is any indication of it on the camera. On mine I had seen a symbol saying Wifi Off on the top panel where all the information about your photo is displayed or in your menu you may see the option to turn wifi on or off. My camera is a few years old so if you’ve bought your camera recently it may be an option.

Without further ado…here’s all the details: You can find it here and all the apps they have available here, and there are two apps, one for a camera like mine (the Canon 6D) and another for Canon Powershot cameras. Oh, and while I’ve been talking about using it with my iPhone in this post, it is available for Android too! And it looks like there is a Nikon, Panasonic and Olympus versions too. You’ll need to check if it works with your gear, but it’s worth checking out.

Mirroring in Your Photos

mirrorapps600

I’m always on the lookout for new apps (and I bet you are too) and ways to get creative with my selfies and other photos after I take them.

Recently I downloaded the app Piclay which is available for both iPhone & Android phones. I got it because it has a great double exposure option (and I’m more than a bit obsessed with double exposures) but what ended up unexpectedly sparking my creative flow was the mirror option.

Piclay has 4 ways to use it: Double Exposure, Mirror, Collage and Single Photo. The double exposure feature is simple in just the right way. You pick two layers and it combines them then you can play around with different filters just the same way as you can with the other options in the app. I like it because to be honest, more and more with the Diana App I find myself choosing the ‘Unfiltered’ option without all the filters they have. So for me, having that basic layer without a filter is wonderful, as are their filters too.

But the mirror feature was the one I really wanted to gush about. I’ve had other ‘kaliedescope’ apps before where they took a photo and mirrored it in a variety of ways but you often didn’t have much creative control over the way it looked or they weren’t that easeful to use. This one totally is. Much like with their double exposures they make it really user friendly and uncomplicated. With the mirror photo option you choose your photo and can decide how you want it framed and then you choose between 4 different mirror options you can see the options below and how they would look on the same photo.

piclaysample

Fun, right? I’m kind of obsessed with it. I initially started using the mirror photo option for the image in the next block of photos, the one on the top right. I wanted to find a photo where I could look back at myself as though I was looking myself in the eye in the photo and this app allowed me to do that!

piclayphotos600

Of course it’s not only selfies that are fun to experiment with in the Mirror option of Piclay. Flowers of course, but you could truly try any image on your photo stream and just see what happens!

For those of you who have taken the Double Exposure Love class with me (and if you haven’t, its now available as a self-paced class) these kind of images rock for layers for our double exposures and add a kind of surreal and magical element to them. Of course, like the top left image in the next photos, you can also take your double exposure (or your outtakes) and add some extra magic to them!

piclayphotos2.600

Have you downloaded the app already? I hope so. So far I’m doing all this with the free version but it seems like they also have a paid version too! I’d LOVE to see your photos so if you share them, don’t hesitate to use the #beyourownbeloved hashtag so I can see them and cheer you on! And the #piclay hashtag too as the folks from the App seem to really appreciate seeing what you create with their app!

Let’s Talk about Yoga Selfies!

yogaselfies600

Yoga Selfies.

What does that bring up in your mind?

For me, until recently it brought forth a vision of the typical yoga selfie I had been getting used to seeing. A woman who’s body fit completely into the so called acceptable realm of the ‘fit body type’ that we’d classically see in a Yoga Magazine. Tanned, muscular and of course, doing some sort of back bend or yoga pose that I’ve never ever been asked to do in a yoga class.

On a rock or cliff or somewhere in Bali. Know what I mean?

Yoga selfies felt completely inaccessible. Plus, as someone who takes and explores the technicality and creativity of taking selfies on a daily basis…I suspected that many of them weren’t actually selfies. Sure, they were of themselves, the person posting it…but that’s not what a selfie is.  Perhaps some of them were actually taken by the person setting up the camera, timer in their hand as they got into their yoga pose and then initiated the timer or used a timer app. But, I doubted it. They looked to me by the angle they were shot at (as in, someone’s eye level) that they were taken by someone else.

That, does not a yoga selfie make.

An awesome yoga photo, yes, but not a selfie.

And how are we supposed to compare ourselves to that? Especially since even in tree I still keep my leg below my knee as my balance ebbs and flows and I’ve never done a backbend.

I said that this is how I used to see yoga selfies as, didn’t I.

Thankfully, something changed. Maybe for you too.

More and more we’re seeing folks share their yoga selfies as they do their home practice and the diversity of what is a ‘yoga selfie’ is changing quickly.

Hashtags like #yogaselfie or #curvyyoga more and more have a diversity of types of folks sharing their yoga practice and that has made all the difference.

So I wanted to share a few reasons why you might want to try taking Yoga Selfies as a part of your self-love and body awareness practice.

yogapost1

The world needs to see YOUR kind of Yoga Body

Have you seen the awesome campaign lately ‘This is What a Yogi Looks Like’ by the Yoga & Body Image Coalition?

There are so many incredible people out there trying to change the perception that I mentioned earlier of ‘What a Yogi Looks Like’ and largely, what we’re still seeing in the media around yoga. Things are changing.

And taking your own yoga selfie of your practice can be a part of that movement. The world needs to see YOUR kind of yoga body.

And in case you need to see other folks rockin’ their awesome selves to get inspired here are a few of my favourite places to go to see inspiring yoga selfies or photos:

yogaselfie2

Let’s Make Yoga Selfies more Beginner-Accessible, by showing our Poses!

What I’m loving seeing these days even when I check the hashtag #yogaselfie is that folks are sharing a more diverse range of poses. Sure there are still a lot of poses that I’ve never been asked to do in a yoga class (ever) and seem really advanced to me, but they are being balanced out slowly but surely with yoga selfies that are the poses people are doing in their daily practice.

I think it’s actually really wonderful to share a photo of a pose you’ve done and worked hard to achieve but let’s share our more accessible poses too. I’m truly no expert in the Yoga department (that’s why I collaborate with Anna) but her style of accessible yoga has helped me feel more safe to say something like this as any pose that we are proud of trying or doing is of value just like all of our bodies are inherently worthy, of value and are indeed Yoga Bodies!

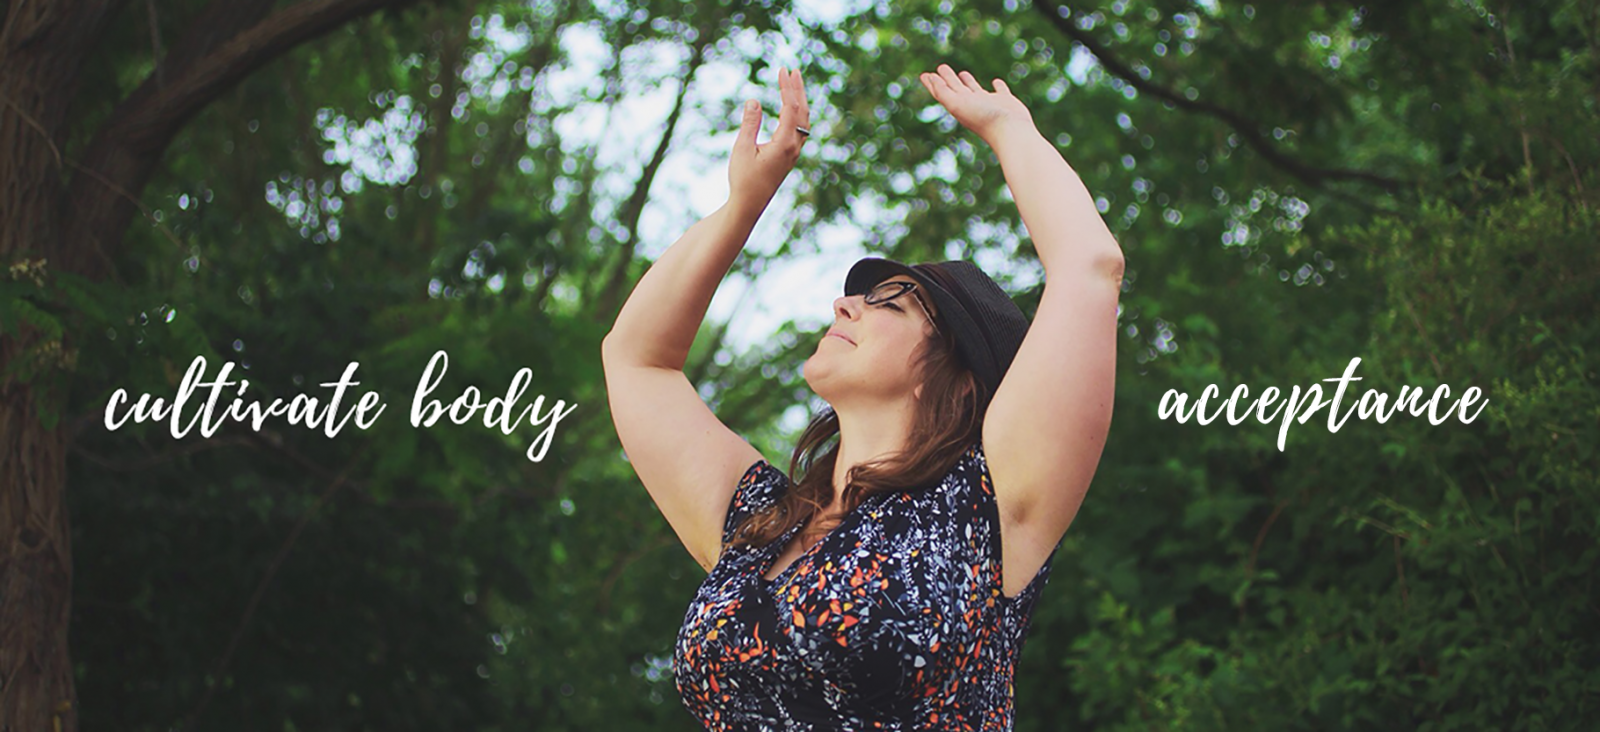
So whether it’s the tips of your toes in Savasana or a full body pose, or with your mobility device or how you adapt yoga to work for your body…whatever way you feel drawn to share your yoga in an image, bring it on!

props

Rock the Props

One of the things I love most about Anna Guest-Jelley and Curvy Yoga has been learning how to support myself in yoga with props. In the classes I’ve taken with her at retreats there have been points where I’ve found myself brought to tears realizing that those poses I thought I couldn’t do, I could do if I reframed it and let myself use props.

Yoga is not a competition (and well, neither are selfies). They are both tools that allow us to connect with ourselves.

Plus, props make for really great tools for taking selfies too. Blocks are awesome for propping your phone up on to take that selfie!

yogaselfie5

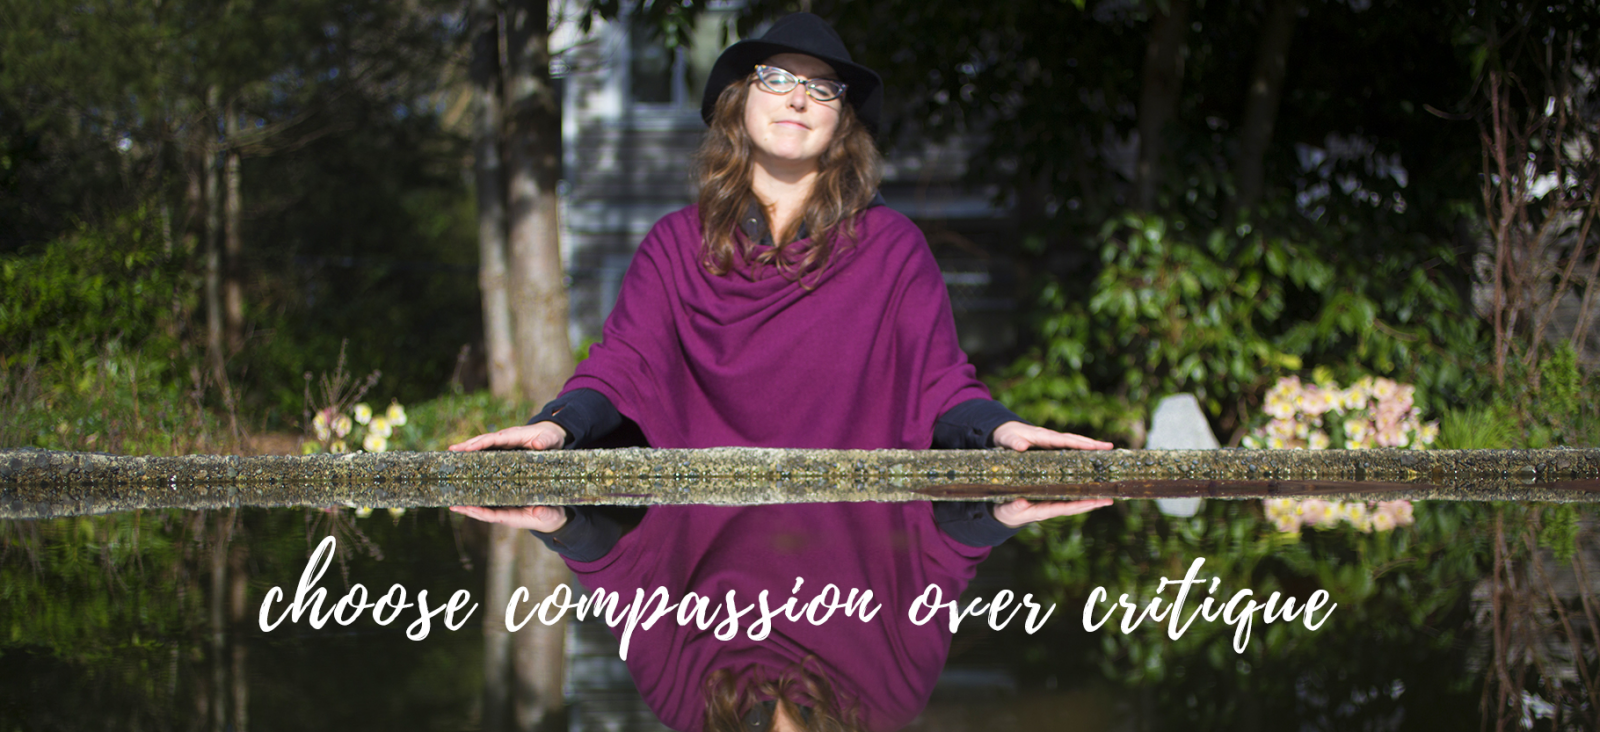
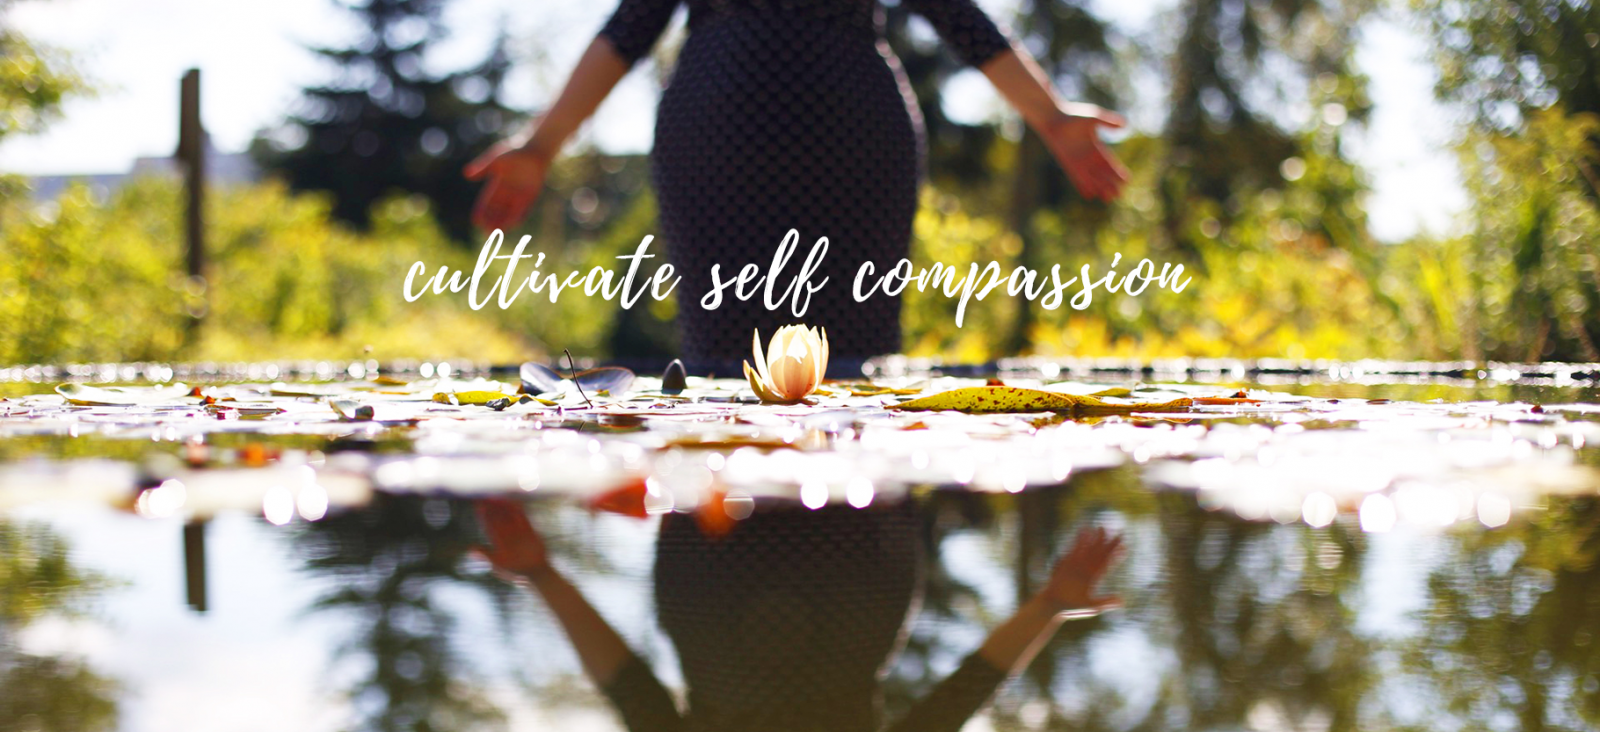
You get to define how you see Yourself and you can choose Kindness

One of the core messages I want to put out to the world is that you get to define how you want to see yourself and that the camera can be a tool to make that happen.

Not only that but yoga can be such a powerful tool to connect to our bodies and heal how we see ourselves. Of course the actual experience of that has nothing to do with selfies but in my own journey to heal my body image I have found that one piece of the puzzle is to really feel at home in our bodies and yoga is that piece of the puzzle for so many people. For me it has been Nia Dance too.

But often even once we’ve done that we have those old stories of how we may look or how people are perceiving us that can still feel like a remaining piece of the puzzle in our self-love path. That’s where I hope Be Your Own Beloved and this site is of service to people. The places where we can overlap these 2 tools of yoga and selfies as our self-love tools is why Anna & I decided to bring back the class for you.

yogaselfie4

How to Take Your Yoga Selfie:

Now, I’m not going to give away all the tips I’m sharing in the Practice: Embodying Your Curvy & Beloved Body class with Anna of Curvy Yoga but I did want to share a few things to ponder:

  • Where to prop your camera. You might think you need a tripod but it’s not always vital. If you’re taking them at home, what about using a chair with a couple books on it to prop your camera against? Or put your camera on the ground? Or on a desk? Head over to your yoga mat right now, stand on it and look around for a spot either on the ground or above ground where you could prop it.
  • Next you’ll need to ponder how to capture it. Most cameras have a timer, as do Android Phones. iPhones have a timer in the most recent system update but it only takes one photo at a time. With any of these options we’ll likely want to use the tool that will allow us to take a whole bunch of photos at once so we don’t have to go back and forth between the mat and the camera.
  • If you plan to take yoga selfies regularly, a remote like the HISY remote can be helpful (and fun). That way you can set up your camera or phone and every so often as you are in your yoga pose press the remote and take a photo!
  • Take LOTS of photos. This is one of my biggest tips with any selfies. Take far more photos than your comfortable taking. I mean it. Cause thats how we get the ones we really love (and if the thought of taking a LOT of photos makes you uncomfortable check out this recent post where I talked about giving ourselves permission to take as many as we need).
  • Ponder Light! As we are potentially moving in our yoga photos, just like with jumping or dancing selfies we’ll be capturing ourselves in motion. Taking these photos in a low lit room will be a lot harder to get a photo we can see with love than taking one in the daytime with lots of light or even outside. One of the things I talk about in Be Your Own Beloved is that often we blame ourselves and our bodies for a ‘bad’ photo when really its that the light isn’t that great which is something we can change. Just keep that in might if you’re not getting photos you like at first. Try somewhere else or add as much light as you can!
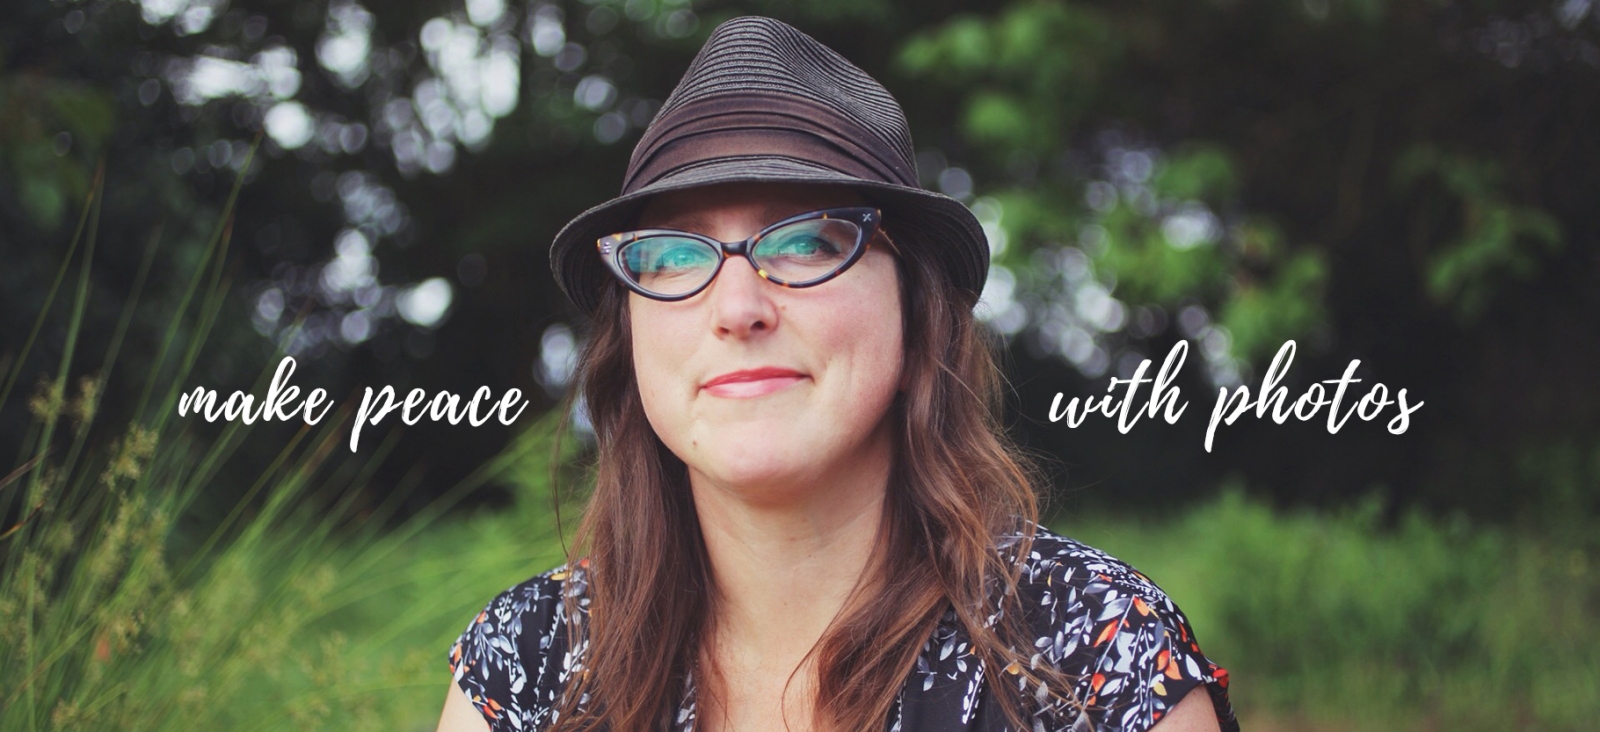
  • Get help. Yes, I mentioned early that a lot of yoga selfies I used to see looked more like a photo shoot that they were calling a selfie. It’s 100% cool to get someone to take photos of you, why not! But still…not a selfie. And as we explore in my classes, something powerful happens when WE become the photographer too, when we get to define how we see ourselves. But I wanted to mention the idea of getting support as it’s what I did to feel more comfortable taking yoga selfies. My mom is a yoga instructor so I asked her to come along with me to the beach and take some photos. I set up the camera and pressed the timer and then she supported me in the yoga part of it letting me know what I could do to get more into the pose and suggested some poses to try. While your Mom might not be a yoga instructor, what about asking a friend who you trust (who you wouldn’t feel like they were telling you what to do, but rather support you in your practice) and give one another support as you take photos. Take turns being the support & being the selfie taker!
  • Use a mirror! Having a mirror nearby whether you take your selfie in it or use it to look at yourself (with kindness) as you get into your pose you may be able to notice where you’d like to adjust your yoga pose as you get ready to take the photo!

yogaselfie7

Of course, I’ll be sharing a lot more in the Practice class and will be available for participants to answer questions they may have.

Though Practice isn’t  a ‘How to Take Yoga Selfies’ Class. It’s so much more than that. It is an invitation to use both of these tools as companions on your self-love path.

I hope you’ll come join Anna & I for the Curvy Beloved E-Course. Yup, 4 weeks of activities. We have a pose we focus on per week all of which are very accessible and beginner friendly (and even if you’re not a beginner at yoga, exploring these poses as a self-love tool can be mighty powerful). Within these weeks you’ll get an email Monday through Friday from Anna & I with things to explore each day like selfie activities, meditations and more.

To get a sense of what the experience might be like, check out this wonderful post from Krissie Bentley about her experience in the class.

Plus, you get both Anna & I available to answer your class questions! 2 teacher and 4 weeks of exploring connecting to your Curvy Beloved self sounds like an epic deal to me.

Those of you who are a part of Anna’s Curvy Monthly program are invited to take the class as part of that program and you can find more about that option here!

unnamed