
 Step One: Find a spot to prop your camera! Then decide if you are going to shoot your feet or your whole body and compose your shot. Use your tripod if you have one. If you shoot your whole body, remember that you can always crop it later so don’t delete photos where you’re making a silly face (cause its kind of natural to do when you’re jumping)!
Step Two: When you’re ready to get started, press the timer on your camera or your remote. You definitely don’t need a remote to do a jumping shot, but it does make it easier! If you are using an iPhone to get a jumping shot, try GorillaCam or Camera+ which both have self-timers!
Step Three: If you don’t have a remote you may need to tell your camera where to focus. Try setting the focus on something nearby where you plan to stand!
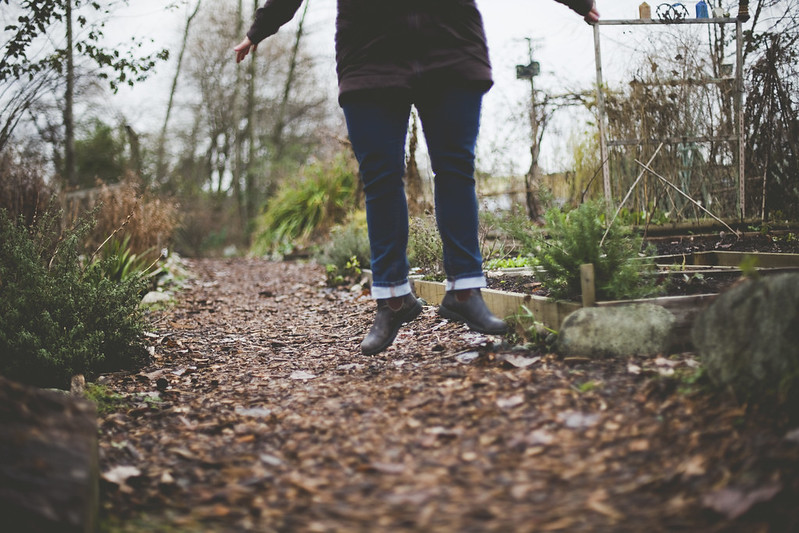
Step Four: Experiment and get playful! Be silly! Try different ways of jumping. Jump off of something. Jump forward. Jump sideways. Jump on one foot! Jump lots of times in hope one of them will be captured in air. You don’t even need to get a lot of air, just a small jump can look big. Just go for it!
.jpg)
Step Five: As you are jumping, you’ll discover that one of the biggest things that helps is to get to know the timing of your timer. If you’re using the timer on your camera, get to know when the shutter actually clicks in relation to the countdown (for me it is a few seconds after the last red light goes off). It may not be exactly when you expect it to be, so its great to just slow down and notice when that shutter clicks and try to aim to jump at that time!
Step Six: Don’t get discouraged if you don’t get the perfect jumping shot right away! Be prepared to take lots and lots of outtakes until you get one that you love.
.jpg)
Step Seven: Be ready to change things up! Change the setting or where you are aiming the photo. Sometimes a change in scene or perspective makes all the difference!
Step Eight: Keep playing until you get your amazing jumping shot! You’ll get it. The more you experiment with jumping, the easier it will be to get that shot where you are in the air (and know what style of jump works for you) but don’t get discouraged if you don’t! Even if you’ve taken lots of jumping shots, it still takes us all many tries to get the one that works!
Step Nine: Don’t delete your outtakes before you upload them to your computer! You might see something different once you see them on a bigger screen! Remember that you can crop out a part if you’d like! Sometimes I might crop a photo down to just the feet or legs if I am making a funny face or feel vulnerable about the top of it. Often we get so focused on our feet in these photos that we might not think about our hands or face (thats always the case for me). Don’t get hard on yourself if there are some you don’t like, just seek out the one that you do and let it be the one that tells the story of this photo adventure! Share your photo!
Let’s get jumping! If you have a jumping shot or take a few minutes to try one today, please share a link to it in the comments section or use the hashtag #beyourownbeloved on social media. I would SO love to see your jumping shots and cheer you on!
If you are craving a playful yet powerful self-portrait journey…come join me for the upcoming session of Be Your Own Beloved!