
.png "behindthephoto")
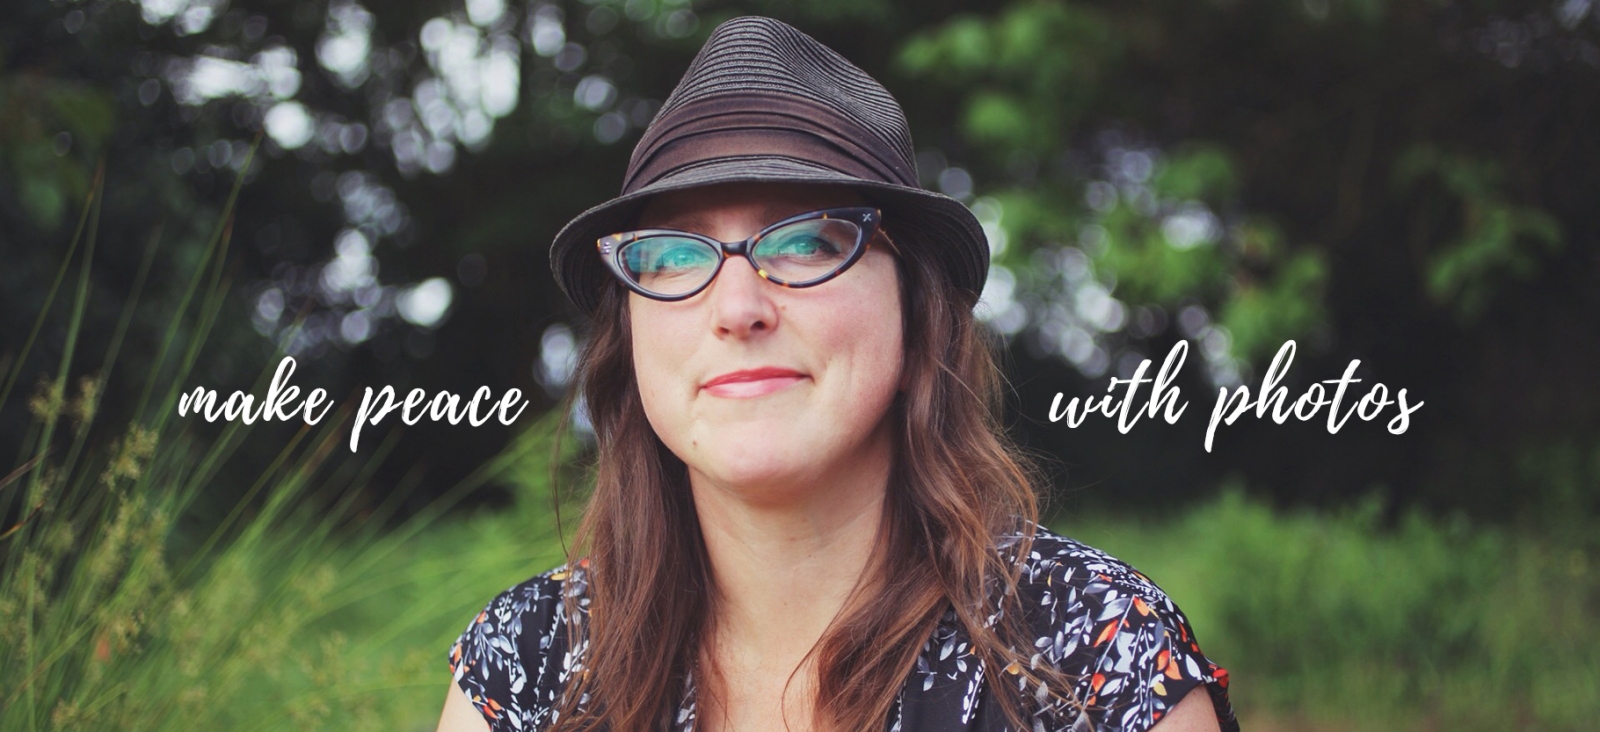
During my courses, I welcome questions about the technicalities of taking photos, even if the course isn’t technical (YAYOM is the course that covers all sorts of technical info in an accessible way).
Often it comes through with the question ” How did you get this shot?” in reference to a specific photo.
So I wanted to start a bit of a feature here exploring some of the ways to get self-portraits (and other photos) with all sorts of camera gear. I’ll also be telling it like it is and share how quite often I just use what is at hand, including propping my camera on a garbage can or using make-shift gear like your bike seat as a tripod). I’ll tell you some of the stories of how I got a certain photo…so if there is a photo or a type of shot you’ve been wondering about, don’t hesitate to ask!
.png "fromtheground")
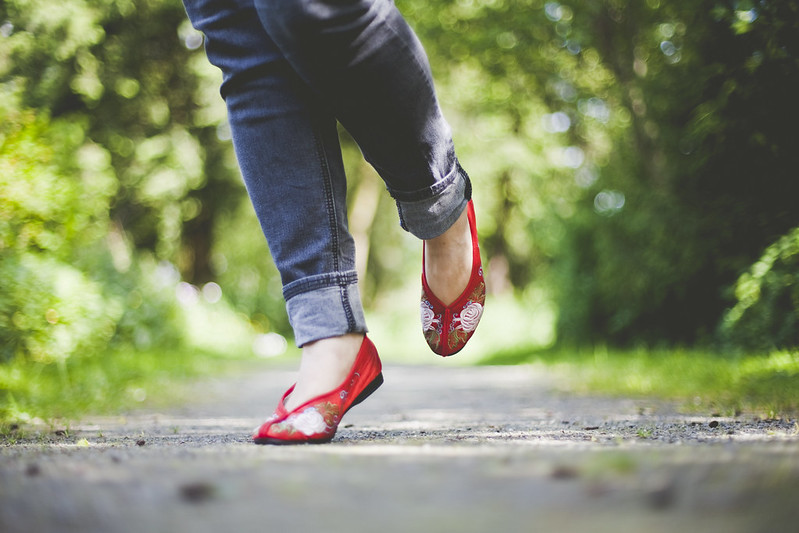
One of the most spontaneous ways to shoot a self-portrait is to just put your camera on the ground! So I thought where better to start but from where we stand.
Shooting from the ground is pretty simple. I usually bring along a scarf and put my camera on top of it to protect it. You could also put it on top of your camera bag (though as you’ll see when you try it out, a photo a foot off the ground often looks much different than right on the ground).
Shooting from the ground invites a whole cast of potential characters into your photo with you:
.png "sftg")
- Shoot close enough that you can stand where you want to and have the camera facing you. Then just reach over and press the button! This would be a great option for a point and shoot or DSLR
- Use your manual focus to pick a distance. I usually note the distance away in feet and just count out the steps away. This can be a bit hit or miss but is the way I do it most often.
- I also usually shoot with a really really shallow depth of field (oh beloved bokeh…i’m addicted to you) so it makes it even more challenging as I’m giving myself a really narrow point of focus as you can see in this photo above. You can also just try making it a bit less depth of field (a narrower aperture) to give yourself more of an area to be near the point of focus.
- Embrace the mistakes. I love photos that end up a bit blurry. So if you mistake the distance away using the above technique, keep it! You might find you love it.
I hope this is helpful! If any questions about shooting from the ground arise, ask in the comments! Or share your favourite ‘Shooting from the Ground’ Photo…just link to it in the comments below!